I've been itching to do a few more things with the new Notion API.

Since I'm adding a few new pages to my website in advance of the book release, I took it as an opportunity to build my first Notion workflow. I decided to use my website contact form as the test subject.
The goal: When someone fills out the contact form on my website, the workflow will automatically add it to a contact database AND send a confirmation email to my new friend, letting them know the message was received.
Step 1: Select Your Stack
I was building around two of my fave tools to start, Ghost and Notion, so at this point I had to choose my supporting cast.
How are you going to make this work? What are your tools of choice? Here are the the things you need to choose.
Website: Ghost is a great option if you're looking for a content-heavy, blog-like website. Bonus points: it manages my newsletter as well. If you won't be posting a lot of content, Squarespace is great too. I've used it A TON over the years.
🥇My choice: Ghost
🥈Alternative: SquarespaceA Storage Solution: You need a place to store all of the contacts you collect from your website form. If you get a lot of inbound messages from your website, you may want to integration with a CRM like Hubspot. Since I'm keeping this simple, I decided to use a database to manage the form submissions.
🥇My choice: Notion
🥈Alternative: Google SheetsForm Builder: The first thing I did was check to see if any form builders had a new, shiny native integration with Notion. And there was one: Typeform. I actually used this during the initial build of the workflow, but decided that I didn't like the overly complicated, card-style form on my simple website. So I made a change.
🥇My choice: Jotform
🥈Alternative: Google FormsEmail: I don't have a need for an add-on email platform for my personal website, so I decided to use Gmail.
🥇My choice: Gmail
🥈Alternative: MailchimpInstant Messaging: This is a "just for fun" add on to the workflow
🥇Everyone's choice: SlackAutomation Software: This is what makes the workflow work!
🥇My choice: Automate.io
🥈Alternative: Zapier
OK, now I'm going to assume that you already have a website (or a place to put a contact form).
Step 2: Create a Contact Form
Like I mentioned above, there are lots of good options here: Jotform, Typeform, Wufoo, Formspree, Google Forms. The list goes on and on...
Outside of the standard Name, Email, and Message sections of the form, I decided to include a Request Type dropdown to help me track and sort incoming messages in the future.
This added a little bit of complexity when creating the workflow in Automate.io, but it's worth it to have this extra nugget of info, IMO.
Step 3: Create a Database
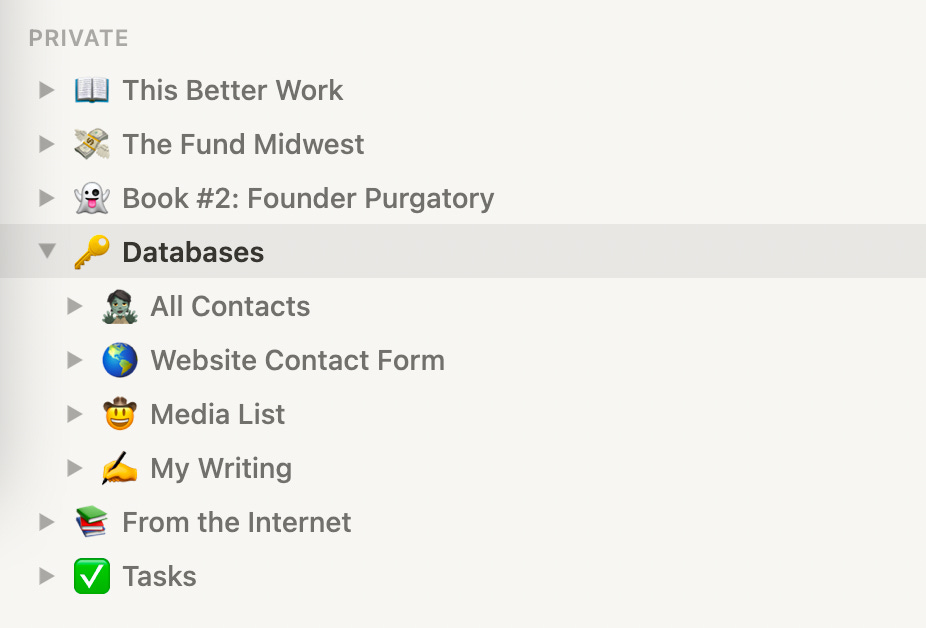
You need a place to store all of your inbound forms – and a database is the perfect solution. I created a database that includes the same five fields in my contact form: Request Type, First Name, Last Name, Email, and Message☝️. This is important. The columns in your database have to match the questions in your form.
It's super easy to create a database in Notion. In fact, the whole system is built around relational databases.
When creating a database in Notion, I recommend creating them AS A Page, instead of ON A Page. This makes it easy to keep all of your databases organized in one place. If you need to display one on a page, you can drop it inline.
Step 3: Embed the Form on your Website
All of the form builders out there give you the option to share and publish your form a bunch of different ways. The way that I'm sharing my contact form is by using an HTML embed code.
First, find your embed code. Most of the time this can be found in the Publish (in Jotform) or Share (in Typeform) section of your form builder.
Then, copy the HTML embed code and past it where you want the form to appear on your website.
Step 4: Write Your Automated Email
I always get the best results when I keep my emails short and to the point. I like to make all of my emails look and feel personal, so I don't overdo it with images, buttons, etc. Here's what I put together:
It's one step up from a plain text email. I wanted to include a few links and change the color of them to match my branding. I used Stripo to create the HTML email super quick.
Stripo — FREE Email Template Builder: Drag and Drop Html Email Editor
Step 5: Create the Workflow 🚀
Time for the automation software!!! This is where the magic happens! The two most popular solutions are Zapier and Automate.io. If you're not familiar, these tools let you connect apps and automate work without writing any code. These tools have changed how I work more than anything else, by far.
I decided to use Automate.io. I like their pricing and bot builder better.
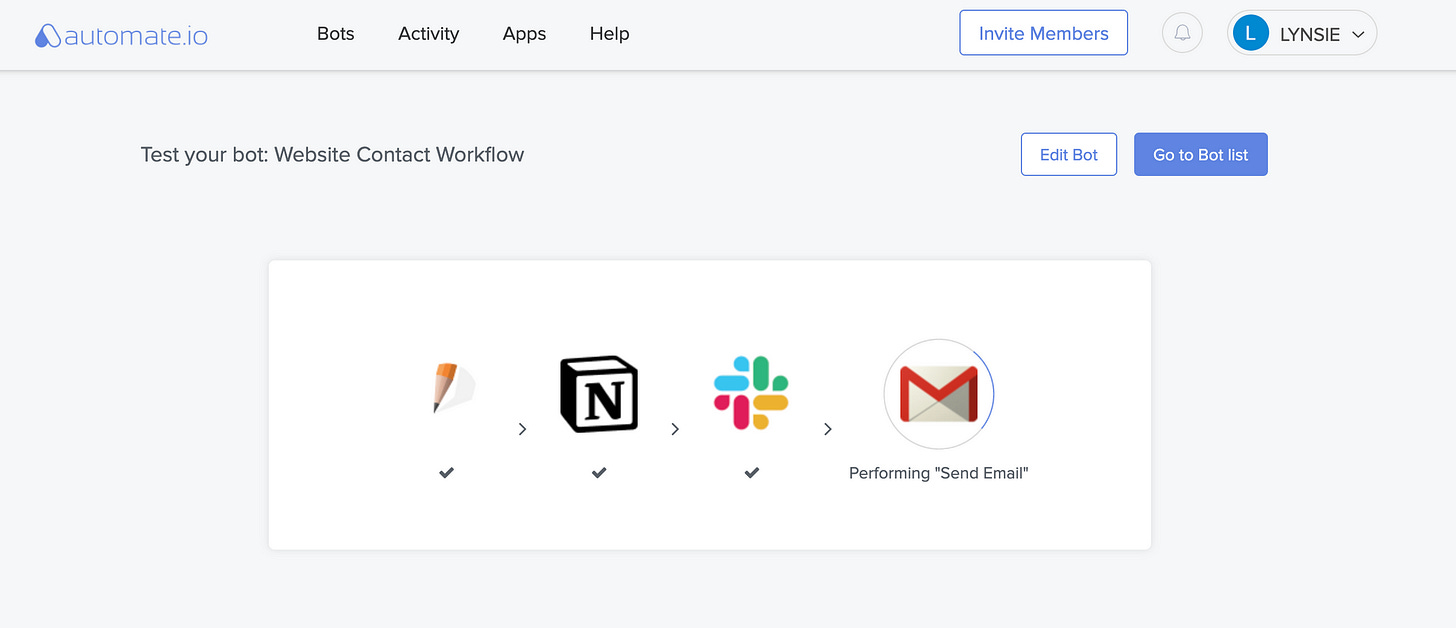
Here are the four things that happen when someone fills out the contact form on my website:
The new contact is added to my Notion database. During this step, Automate.io will ask you to map the fields in your form to the fields in your database. This is why you want to make sure they're the same. The output needs to match the input.
I get an alert in Slack! Sometimes emails go to Spam. Sometimes I just don't see them (I blame having five email accounts). Regardless, this will make sure I don't miss an important message. This is a totally optional step, but since I could do it, I figured why not? 🤷♀️
My new friend get an auto-response email. I may not be able to respond same day, but I want people to know that their message did go through. A simple, auto-response email helps (see example above).
If you've never used an automation tool, there's a slight learning curve, but nothing you can't tackle quickly. Automate.io is really good about walking you through the process step-by-step. To provide an additional layer of help, Automate.io created a short overview video:
If you have any questions, hit me up!
✌️Until next time,
Lynsie
#blacklivesmatter #womxnrule #legalizeit #investinthemidwest


